The English and Chinese departments and MS STEM have been using OneNote Class Notebook distribute files and give students feedback. If you want to set up your own, it’s easy! Follow these steps:
- In Canvas, go to Class Notebook
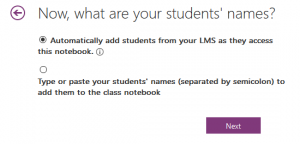
- Follow the prompts to log in and set up your first class. You’ll get a chance to add any co-teachers or TAs. Make sure you choose the option
- Ask students to go to Canvas and click on Class Notebook, they will be added to your notebook and you will see a new section with their name appear in your notebook.
- Keep documents that student can read but not edit in the Content Library.
- Keep documents that everyone can edit in the Collaboration Space.
- Ask students to keep private work in their personal section. You can still read and edit anything they put there, but other students can’t.
- Collaborating with another teacher? Go to Class Notebook > Manage Notebooks, find your notebook in the list, and then click Enable Teacher-Only section group. This will create a section that only you, and other invited teachers, can see.

- To invite other students or teachers, use Class Notebook > Add/Remove Students or Add/Remove Teachers. Do NOT use the “Share” button.
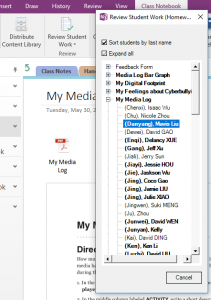
- You can copy a page or section to all students’ private sections in the notebook! Use Class Notebook > Distribute Page or Distribute New Section.